Last Updated on October 26, 2026 by Umar Farooq
How to make a moisture absorber at home: punch seven or eight holes in the lid of a lidded plastic tub, fill it with about 2.5 cm / 1 inch of calcium chloride or silica gel, and stand it in a small, closed space such as a wardrobe. Five minutes of work, a bit of cheap material, and a tub that does a decent impression of the shop-bought ones.
I should say up front that I like this project and distrust it in roughly equal measure. It is genuinely worth doing for a wardrobe. It is a waste of a tub for a damp bedroom, and I will show you why before you start.
How to make a moisture absorber at home: the kit and the rules
The whole kit is a disposable plastic container with a lid, scissors or a sharp knife to make the holes, and one of three fillers. Hunker’s homemade DampRid guide uses exactly this design, with calcium chloride from hardware or car-care shops, or silica gel from craft and hobby suppliers.
The tub is not decoration. Calcium chloride does not stay a dry crystal for long: it pulls water out of the air and slowly turns into a liquid brine, so the container has to catch it. Use something that will not buckle or leak, and not a bit of kitchen roll in a saucer.
Neither calcium chloride nor silica gel is safe to eat, and a tub on a low shelf is exactly where a toddler or a dog finds it. Wear gloves when you handle calcium chloride, keep the lid on, and stand the tub where children and pets cannot reach it. Never put it near food storage.
Build the calcium chloride tub (the strongest option)
- Punch seven or eight holes in the lid, small enough that crystals cannot fall out.
- Add roughly 2.5 cm / 1 inch of calcium chloride.
- Press the lid on firmly and stand the tub on a tray or in a second container.
- Put it in the damp spot and check it weekly.
When the crystals have gone to liquid, the tub is spent. Tip the brine down the drain with plenty of water, rinse the tub, and refill it. I would not pour it onto plants or into a lawn drain without thinking, because it is salty, but that is my caution rather than anyone’s guideline.
If you want to know how this chemistry compares with the gel version, silica gel versus calcium chloride goes through the differences.
Build the silica gel tub (the reusable one)
The build is identical: same holes, same 2.5 cm / 1 inch of beads. The difference is what happens at the end. Silica gel stays solid as it fills up, so there is no brine to catch, and you can dry it out and start again. Spread the beads in an oven-safe dish and bake them at about 120°C / 250°F for an hour, stirring now and then, as Hunker describes. Let them cool before they go back in the tub.
The packets that come in shoe boxes and handbags work the same way. Do not bin them: a few in a drawer are a free absorber. Check the packet first, since some of those small sachets are not silica gel and are not meant for baking.
Silica gel costs more per kilo and absorbs more slowly than calcium chloride, which is why I would pick it for a cupboard of paperwork or kit where a leak would hurt, and calcium chloride where speed matters and a spill would not.
What about rock salt and baking soda?
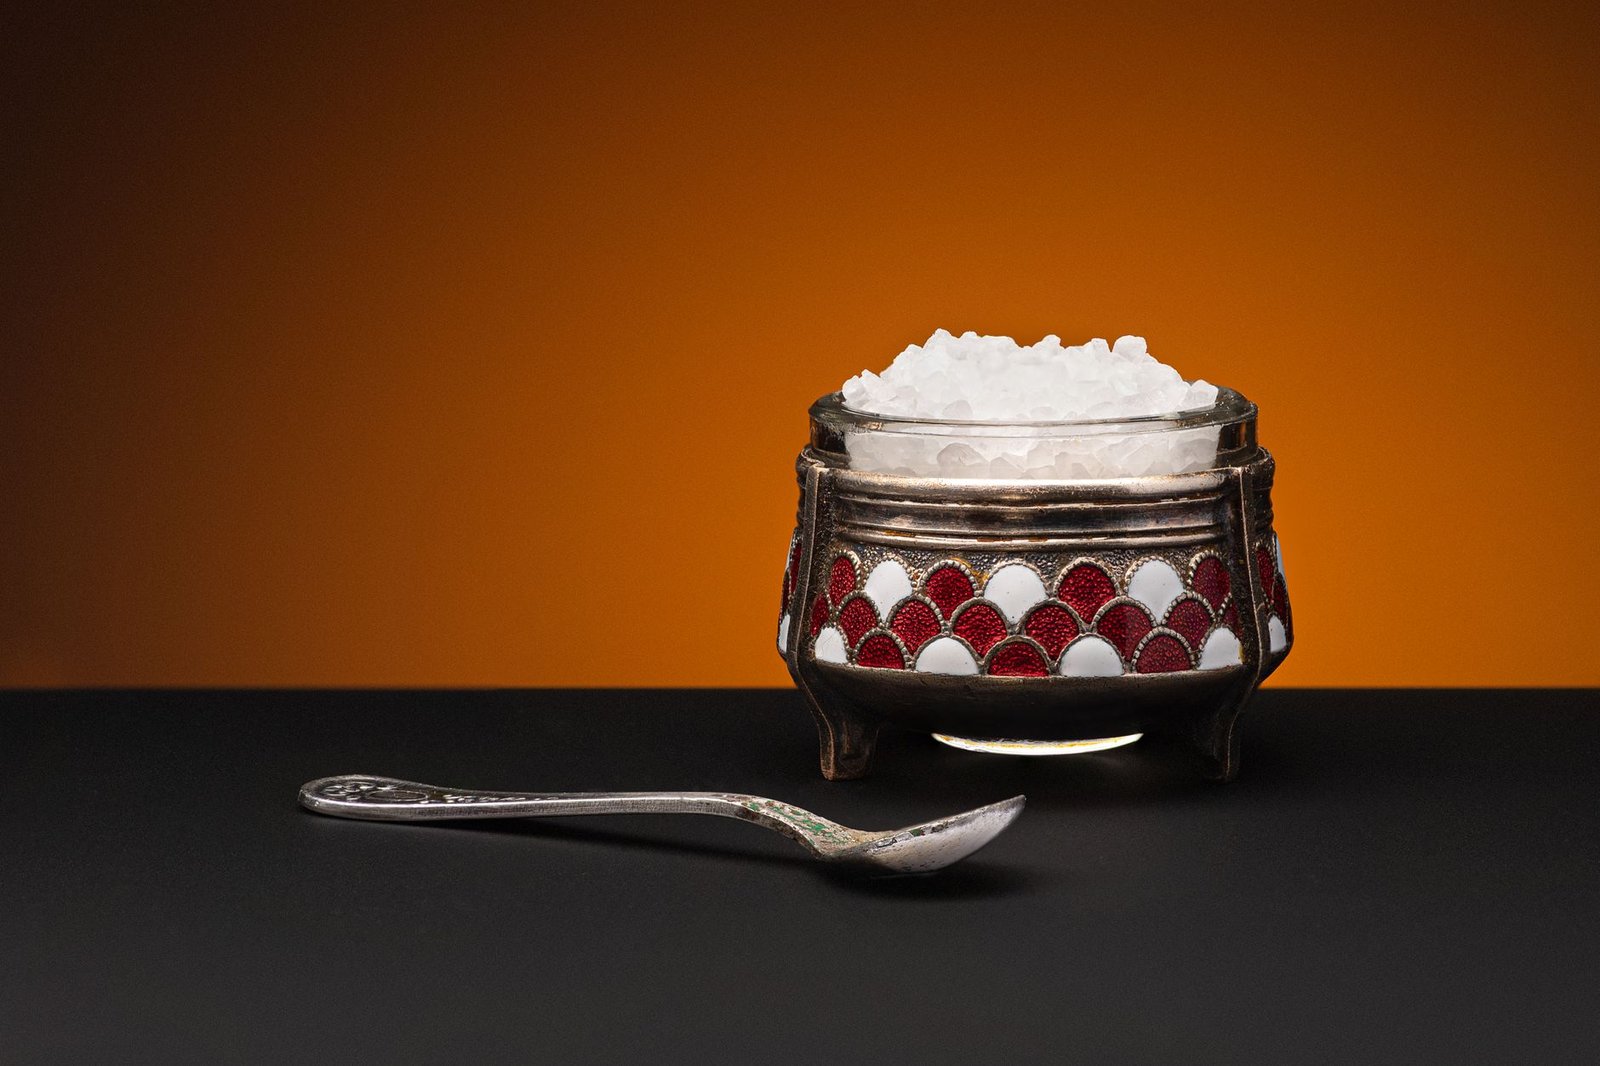
Bowls of rock salt are the internet’s favourite budget tip, and they do pull a little moisture, but of the three fillers they are by far the weakest and they leave you with a salty slush. Baking soda is mainly an odour absorber; I would not count on it to dry anything. Both are fine in a drawer or a shoe cupboard. Neither is a plan for a room.
If you are tempted by charcoal, cat litter and the rest of the kitchen-cupboard list, the natural dehumidifier guide rates each of them honestly.
Put it where it can actually work
A homemade absorber works on the air it can reach. That is why the container’s volume matters far less than the volume of the space around it.
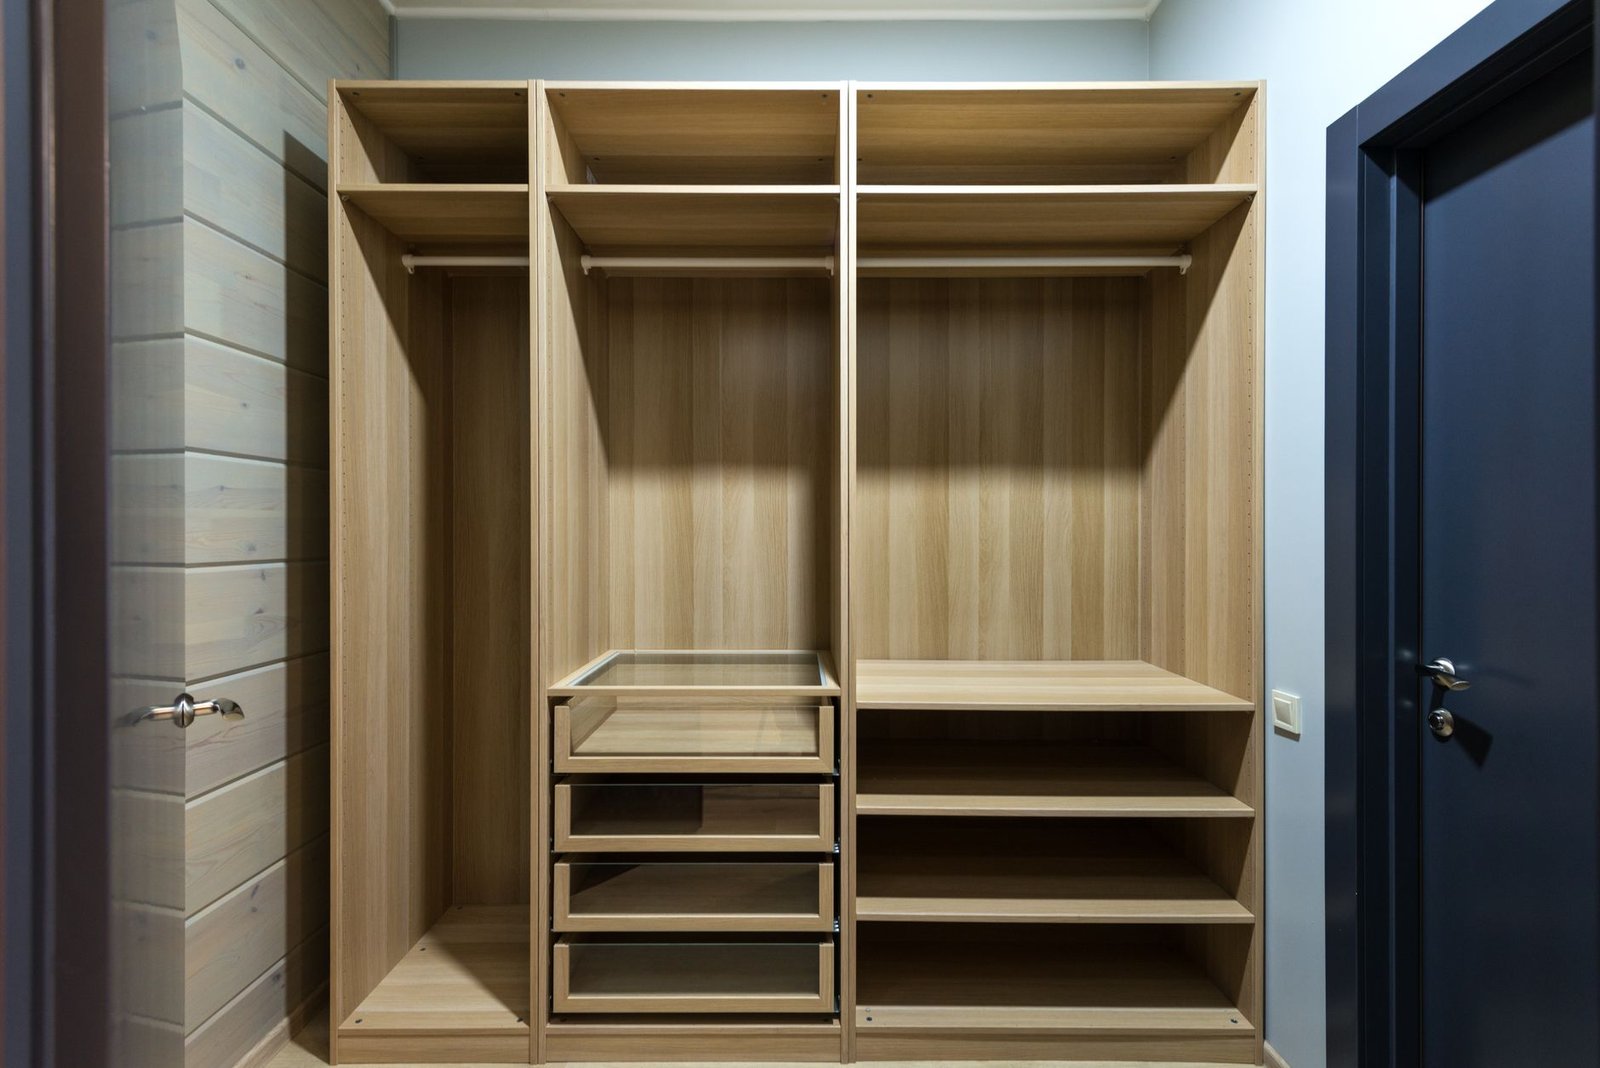
- Wardrobes, cupboards, drawers, shoe racks: good. Shut the door so the tub has a small volume to dry.
- Under a sink, in a shed cabinet, in a toolbox: good, and the dry air also protects metal.
- A car footwell: acceptable for a tub that cannot spill, stood on a rubber mat.
- A whole bedroom, basement or house: no. One tub cannot keep up with the water a household produces. My sums on moisture absorbers show a single tub against a single bedroom, and the tub loses.
The EPA’s advice is to keep indoor relative humidity below 60%, ideally between 30 and 50%, in its brief guide to mould and moisture. A tub in a closed wardrobe can help a small space towards that. It will not get a damp room there, and it does nothing about the leak, the washing or the cold wall that is causing it.
Make a moisture absorber at home for the wardrobe, buy a machine for the room
That is the opinion, and the reasoning is simple: a tub is a small closed container with a finite amount of filler, and once the filler is full it stops. A dehumidifier empties its bucket and carries on. I have not measured a homemade tub, so I will not quote you a figure, but I do not need one to say they are not in the same league.
So build the tub for the wardrobe, the shoe cupboard and the toolbox, where a closed door gives it a fair chance. If you are making a second and third for the same bedroom, stop and read how to dehumidify a room instead.
FAQ
What is the best homemade moisture absorber?
Calcium chloride in a lidded tub with holes in the lid is the strongest of the common DIY options, because it pulls water from the air quickly. Silica gel is slower but reusable, and rock salt and baking soda are the weakest.
Can I use rock salt as a moisture absorber?
Yes, in a small way. Rock salt in an open bowl will absorb some moisture in a drawer or cupboard, but it is slow and weak, and it will not dry a room. Keep it for tiny closed spaces.
How do I reuse silica gel?
Spread it in an oven-safe dish and bake it at about 120°C / 250°F for around an hour, stirring a few times, then let it cool. Dry it before it goes back in the tub.
Is homemade moisture absorber safe around children and pets?
Not unless you place it carefully. Calcium chloride and silica gel are not safe to eat, so keep the lid on, wear gloves when handling calcium chloride, and stand the tub where children and pets cannot reach it.
How long does a homemade moisture absorber last?
It depends on how humid the space is, so I cannot give an honest number. Calcium chloride is finished when the crystals have turned to liquid. Silica gel is finished when it stops absorbing, and then you can bake it dry again.